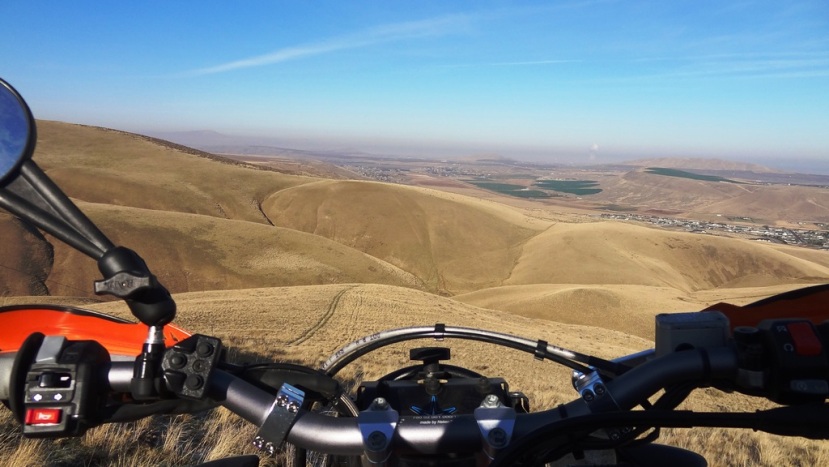
I went for a trail ride recently and was hoping the 66 degree weather would allow me to avoid a hot temp boil over. Well I'm too slow and the temp hit high levels anyway...I hit the road a couple of times just to drop the temp in the rads. I recently added a Power Distribution Block so I couldn't wait to add my first switched accessory.
I purchased a 4" Spal "pull" fan...I had to fab a custom bracket due to the Unibiker guards being in the way. I bought inexpensive, easy to bend aluminum stock. Re-purposed one Unibiker support piece by cutting a 1/4" off each end...Why both ends? To keep the threads deep enough for the mounting screws. I used zip ties for the final mounting and they work just fine for this…I didn’t run the ties through the rad fins in order to prevent possible damage over time.
The first thing I did was raise the Unibiker's cross support and drill and new hole through the right side of the Unibiker guard that lined up with the radiators stock fan mounting tab. I slipped the aluminum stock into position and started bending by hand...Super easy!

Here the aluminum is taking shape...Take note of the far blue pen mark.

I folded the aluminum over itself vs cutting it off at the blue line. I did this to help clear the bottom screw head of the Unibiker support. This wasn't necessary but oh well. I used a Dremel to do all the final cutting and notching.

Some may worry that I lost support on the lower half of the Unibiker guard but these things are pretty stout. Maybe the aluminum will help a little (Doubtful since it bent so easily).

After cutting off the fan's plug, I grounded the black wire to the frame where the tank stop mounts. The red wire slips into an existing wire loom (I added in a previous project) and routes up to the handlebar where a toggle switch will be installed.

Slide a piece of shrink tube or other loom over the new wires…More on this in a few pics. As mentioned above, the red wire is coming from the fan straight to the toggle switch at the handlebar. The orange wire will be the power lead from the PDB to the other pole of the toggle switch.

For a clean install I like to splice into existing wire looms. I do this every chance I get to obtain a factory look.

Fish the wires out of the factory loom near the switch location you choose. This wire loom is for the start button located on the right side of the handlebar.

It’s hard to tell that new wires were added until they get close to the power distribution block.

I found this pre-drilled metal strap in my parts bin...This will become my switch mount.

Once I determined the switch’s location…I took my grinder and starting shaping a custom mount.

Painted and ready for the switch.

I love this location…Looks sleek and it’s completely accessible while riding.


The underside of the switch protected by soldered connections and shrink tube.

Thanks for looking.
